





photo home-28.png photo about-36.png photo shop-10.png photo events-2.png photo create-1.png photo contact-30.png

Showing posts with label create. Show all posts

Nutcracker Cookies


I love to create new sets of cookies.  Designing a new cookie set is actually one of the best parts for me.  When I design a cookie, I first map it out in my head and start to get a feel for what I want it to look like.  Then I trace an outline of the cookies with the cookie cutter and draw it out.  With these cookies, I used pre-made icing decorations and hand-made ones as well.  I used a lot of edible sparkles, and I hand-painted edible gold on the details of the cookies.  Things get pretty serious in cookie decorating when you're holding a paint brush.  You start to feel like an artist painting a layered canvas, haha.  There's royal icing and then there's abstract oil paining.
I'm not sure if it's just the nostalgia from when I performed, or just because they are kinda cute, but these cookies are my some of my favorite!  I love the Nutcracker and always look forward to going around Christmas time.  Its' become one of our family traditions, especially since my two oldest girls perform now.  I figure I've perform in over a hundred Nutcracker's since about the time I was 12, and I can't listen to the music without feeling the need to start dancing. 
I hope you're enjoying this wonderful time of year!
Merry Christmas!
xoxo


A Vintage Settee How-To


A Vintage Settee How-To

This settee was one of my favorite DIY's to date.  In part, because I've wanted one for a long time, but also because it was such a fun project with my husband.  The aged green settee arrived as a picture in my Mother's Day card, and I was so excited to get working.  This project was also one of my favorites because I learned how you can show the wood grain, which is something I've always been curious about.  It gives wood that beautiful antique appeal.  And also allows for stain to have slight color variations, which ends up giving a piece an authentic antique feel. 


To start we stripped down the whole couch to the frame, springs, and burlap covering.  Then we got to working on the wood.  With a hand drill and an Avanti Pro crimped 4"wire brush from Home Depot, we consistently followed along the grain of the grain.  Depending on the wood type, the wire brush will tear out the soft spots of the wood, showing the beautiful striations in the wood that you're wanting for a vintage piece.  It's kind of like magic; the wire brush follows the wood grain very easily.  The wood on my settee tore through the grain easily, but on some woods you may have to work a little harder.  The key is to just be consistent so the wood grain is even.  
After we finished with the wire brush, we wiped and vacuumed all the dust down, and then started with the stain.  I used a grey Minwax wood stain, and generously applied it.  After that dried overnight, I finished with two separate coats of a 50/50 mixture of water and Annie Sloan white chalk paint.  It was beautiful to see the white chalk paint pool in the different areas of the wood grain with the grey stain.  After, it dried, I applied Annie Sloan wax generously, and then wiped down the excess.  This leaves the wood sealed and conditioned, kind of like putting lotion on dry hands.  To finish the couch, I picked a neutral linen upholstery.  I had it done through a local company that was  fast and so easy to work with.  We love it and it makes everything around it feel dreamy.
xoxo

Flower Crown How-To

This was such a fun and simple project.  I bought rafia wrapped coiled wire, green floral tape, and a selection of silk flowers.  I also used frosted greenery to add a holiday touch.  I used forget me nots, baby's breath, some metallic flowers in the holiday section, and a big blue peony.  I simply measured the little girls' head circumference and then doubled it.  I made one circle for the base of the crown and then coiled the second half of wire around the first.  This helped the crown keep it's shape and also made for an easy to insert for some of the stems.  Please keep in mind that when measuring, you want the  wire to fit all the way over the crown of the head.  That way it will easily rest on the head and it will fit most securely this way.  To assemble, I simply placed the stems and flowers on and used the floral tape every so often as to secure them.  This was the fun part.  Design the crown however you like.  For one of the crowns I kept it dainty and simple all around.  For the other, I placed a big bloom and added two leaves on either side of it, sort of like a throne surrounding the big bloom.  We placed the big bloom at the back of the head, but it looks equally beautiful when worn on the front.  Have fun with it and enjoy...I think we will try this again in the spring. 
xoxo


PS for those asking, the caplet is a baby skirt that we put on as a shawl...I added a ribbon too for effect...wink wink.

A Sweet Doily DIY

This little project is a sweet and simple diy for an invitation, thank you note, or other little card.  Simply take a doily, ribbon, the card, and there you have it...a custom made card.  Simple and sweet.  I made these custom invites for my daughter's Nutcracker themed party coming up soon.  I've had a lot of fun customizing invites with a border, color, clip art, and little made-up poems.  I found this arabesque silhouette under the word 'ballet' in the clip art found on our word document program.  We're pretty excited to soon enter 
The Kingdom of Sweets and Treats
for a special little girl's birthday.
HAPPY TUESDAY!
xoxo


Christmas Service Countdown


With Christmas approaching and three littles jumping for joy, I've been thinking about what I can do to help instill in them an understating of the true meaning of Christmas.  It's so precious just how fun the holidays are for my children.  They could not wait to put up the tree and love turning on the Christmas music full blast each day.  I've been wanting to do an advent calendar since they are interactive each day.  I have seen a few that were darling, but I was looking for just the right one...Finally I found it...
I wanted them to have a package to open each day that challenged them to do a kind act of service for another.  When I saw this little numbered garland, I knew it was perfect for holding the notes for each daily act of service.  I made a word document of acts service and then punched them with a scalloped paper punch.  I did a variety and made some that really suited our family, but really any acts of service would do.  We did things like: mail a letter to your grandmother, write a kind note to your daddy, drop off a secret treat at someone's doorstep, make cookies for a friend and secretly deliver them, smile at as many people as you can today, prepare a gift basket and drop it on someone's doorstep, invite a friend over for a Christmas craft...there are so many fun things to choose from.  I hope through these daily acts of service they will be reminded of the true meaning of Christmas...I can't wait to get started, and look forward to this new cherished tradition to make memories with my babies and kindly serve those around us!
xoxo

PS if you're looking for an advent garland, you could easily make one with some twine, clothespins, and envelopes/party favor bags (you could hand stamp, number, and decorate them).  I've also seen some darling ones via Etsy.  Also, if you want a copy of my acts of service word document...I'd be happy to send it your way, just send me an email.

A sweet little hideaway...


I love wandering down to the basement and sneaking in on little ones playing in their own world.  They were so excited when we created this little space for them.  It's a special hideaway they call their own.  We put up some wall-mounted bookshelves, gathered all our sweet and cozy pillows, pinned up a bunting, and added some gold polka dots...and voila...a sweet little hideaway.
xoxo
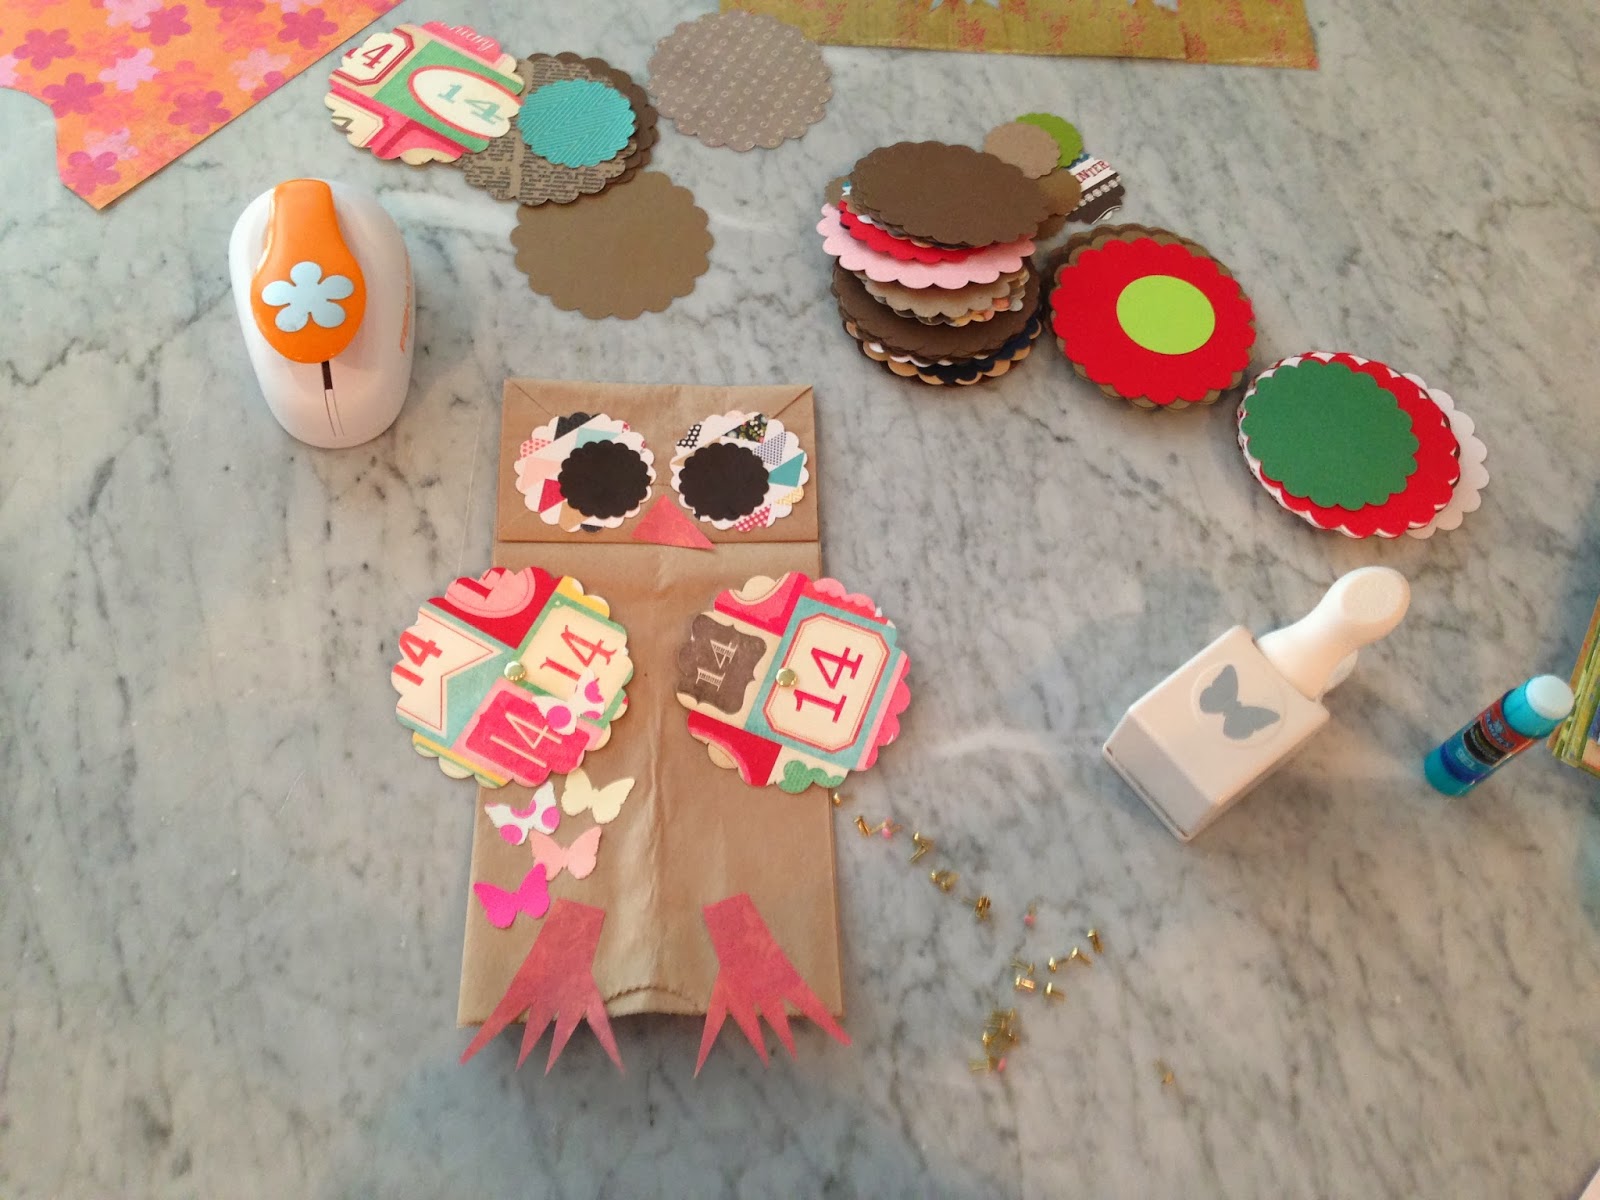


Fun Fall Craft

The girls and I had so much fun doing these owls!  They are so fun and easy.  All you need are brown lunch sacks, craft paper, brads, scissors, and glue.  We also had a 'leftover' bag of circles from the local craft store, and a craft punch to make a few different shapes.  We cut our circles in half to create wings and feathers, but there's really no wrong way to decorate your owl.  We will be having more fun with these!  Enjoy, xoxo!


How-to make a Pinwheel

When I first learned how to make these I was shocked...and so excited.  They are SO easy and SO fun, and the perfect crafty touch to a million things.

Step1:  Start with any size of square paper.  Cut a diagonal line inward from the corners, leaving about an 1/2 inch space in the middle of the diagonal line (s).  Follow the pink lines.  The space you leave in the center really depends on how big your pinwheel is.
 Step 2:  Using a glue gun, glue in one corner to the center.
Step 3:  Glue in every other corner to the center with a small dab of hot glue.
 Step 4:  Repeat step 3 for the 3rd and 4th corners.
 And Voila!  You've made a pinwheel.  Finish by adding a button to the center (if you like).


 They are pretty cute huh?  I attached mine to little dowels, but you can hang them from fish string from the ceiling, or string a bunch by their corners to make a banner.  So fun!  Don't be surprised if we go crazy with these at Christmas time. 
Enjoy Xoxo
 

design + development by fabulous k