photo home-28.png photo about-36.png photo shop-10.png photo events-2.png photo create-1.png photo contact-30.png

Showing posts with label diy. Show all posts

A Sweet Doily DIY

This little project is a sweet and simple diy for an invitation, thank you note, or other little card.  Simply take a doily, ribbon, the card, and there you have it...a custom made card.  Simple and sweet.  I made these custom invites for my daughter's Nutcracker themed party coming up soon.  I've had a lot of fun customizing invites with a border, color, clip art, and little made-up poems.  I found this arabesque silhouette under the word 'ballet' in the clip art found on our word document program.  We're pretty excited to soon enter 
The Kingdom of Sweets and Treats
for a special little girl's birthday.
HAPPY TUESDAY!
xoxo




A sweet little hideaway...


I love wandering down to the basement and sneaking in on little ones playing in their own world.  They were so excited when we created this little space for them.  It's a special hideaway they call their own.  We put up some wall-mounted bookshelves, gathered all our sweet and cozy pillows, pinned up a bunting, and added some gold polka dots...and voila...a sweet little hideaway.
xoxo


Fun Fall Craft

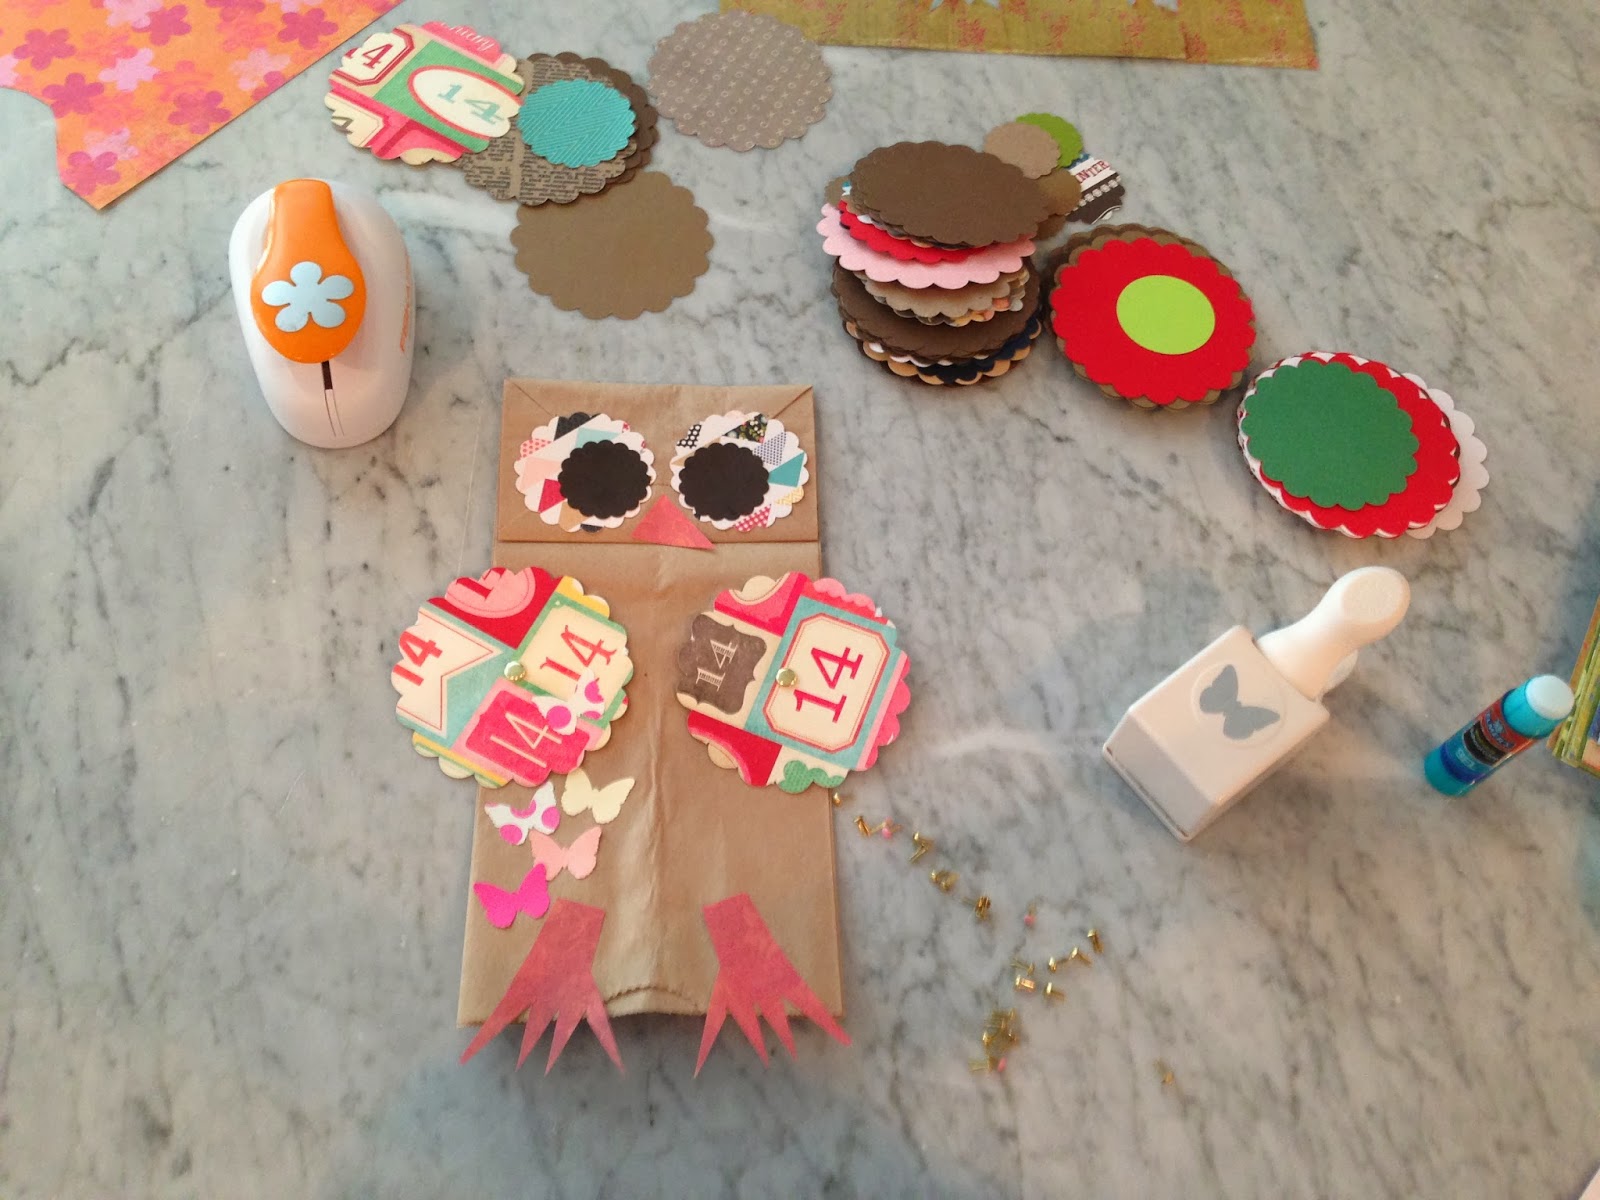
The girls and I had so much fun doing these owls!  They are so fun and easy.  All you need are brown lunch sacks, craft paper, brads, scissors, and glue.  We also had a 'leftover' bag of circles from the local craft store, and a craft punch to make a few different shapes.  We cut our circles in half to create wings and feathers, but there's really no wrong way to decorate your owl.  We will be having more fun with these!  Enjoy, xoxo!


How-to make a Pinwheel

When I first learned how to make these I was shocked...and so excited.  They are SO easy and SO fun, and the perfect crafty touch to a million things.

Step1:  Start with any size of square paper.  Cut a diagonal line inward from the corners, leaving about an 1/2 inch space in the middle of the diagonal line (s).  Follow the pink lines.  The space you leave in the center really depends on how big your pinwheel is.
 Step 2:  Using a glue gun, glue in one corner to the center.
Step 3:  Glue in every other corner to the center with a small dab of hot glue.
 Step 4:  Repeat step 3 for the 3rd and 4th corners.
 And Voila!  You've made a pinwheel.  Finish by adding a button to the center (if you like).


 They are pretty cute huh?  I attached mine to little dowels, but you can hang them from fish string from the ceiling, or string a bunch by their corners to make a banner.  So fun!  Don't be surprised if we go crazy with these at Christmas time. 
Enjoy Xoxo
 

design + development by fabulous k