photo home-28.png photo about-36.png photo shop-10.png photo events-2.png photo create-1.png photo contact-30.png

Peach Streusel


Recipe Below

This simple dessert is so quick and easy, but it still makes you feeling pretty good in the kitchen with your made-from-scratch salted caramel sauce.  My very favorite treats are fruit pies, streusels, and crisps, and this dessert fits right in.  It's so fast and easy, but really foots the bill for a yummy dessert.

And for the record, my husband invented this little treat.  He was trying to make a dessert for me, and found the Betty Crocker box in the pantry + peaches and voila, a star was born.

Bring on all the fall desserts, soups, and yummy breads.
Enjoy!
XOXO


Watercolor Swan Cookies+Sugar Cookie Recipe


These swans are some of my favorite cookies.  I've made them before with white wings, but this time I decided to hand-paint their wings with a touch of pink and gold.  Making the pink water color was simple with a touch of pink food coloring and water. For the gold, I used this go-to luster dust.  I added a little bit of water with the luster dust and mixed to create a gold water-color.

To learn more about the techniques of royal icing and sugar cookies, email me for local classes that I host 
// meohmycouture@gmail.com // 

Below I'm sharing a quick and easy cookie recipe that you can use for cut -out cookies, or use for drop cookies.


Recipe:
1 egg (for a more substantial cookie you can add another egg yolk) 
1 stick of butter (1/2 cup)
1 box of Betty Crocker French Vanilla cake mix.  You can try other types of cake mix too.  I've tried tons of different flavors.  Some favorites are chocolate and lemon.

Mix the ingredients until the dough comes together.  Drop cookie dough into rough tablespoon-size balls onto cookie sheets with parchment paper, or roll out on parchment paper with plenty of flour. Cut-out and place on sheet.  If you're doing cut-out cookies make sure to cool for at least an hour before baking, so your cookies get a nice crisp edge.
Bake at 350 F for 9-10 minutes, until cookies begin to turn slightly golden brown.
Let the cookies cool, then frost with a buttercream (one of my favorites here), or decorate with royal icing.

Enjoy, xoxo

Lemonade: An easy summer treat


I'm sharing A fun summer treat that works perfect for a party treat to share, or just something fresh to enjoy on any summer day.  
We've made this to share at a summer party, and we've also loved having our dispenser full of lemonade, cold and ready when we want a refreshing drink.  
This drink is so easy to make, and can be made with a variety of fresh fruit, or you can keep it simple with just a little orange, lemon, and mint.

**RECIPE BELOW**


CITRUS MINT LEMONADE
  • FILL YOUR DISPENSER FULL OF WATER.  I HAVE LOVED THIS ONE
  • ADD THE JUICE OF 1-2 ORANGES
  • 1-1/2 CUPS OF LEMONADE FLAVOR.  I ADD LESS THAN THE SUGGESTED AMOUNT BECAUSE I LIKE THE TASTE OF LIGHT AND REFRESHING RATHER THAN OVERLY SUGARED.  BUT IF YOU LIKE A LITTLE MORE, ADD THE AMOUNT LISTED ON THE LABEL OF THE LEMONADE
  • 3 ORANGES SLICED THINLY.  ADD THE SLICES TO THE TOP OF YOUR DISPENSER.
  • A HANDFUL OF FRESH STRAWBERRIES, WITH STEMS CUT, ADD.
  • 3-4 SPRIGS OF FRESH MINT.  ADD ON TOP OF YOUR FRESH FRUIT.  THIS IS THE BEST PART, IT ADDS THE FRESHEST TASTE, AND IS THE BEST COMPLIMENT TO THE ORANGE AND LEMON FLAVOR.
YOU COULD ADD ANY OTHER VARIETY OF FRUIT.  WE'VE DONE PINEAPPLE, RASPBERRIES, AND GRAPEFRUIT.

THAT'S IT! REFRIGERATE AND ENJOY.


Flamingo + Watermelon Cookies

 Flamingo cookies + watermelon ice cream cones for a dessert bar I made for a family party.  My little Adele gave me the inspiration for the watermelon ice cream cones when she was decorating her little set of cookies.  She started making her ice cream cones into watermelons and voila!  They're a favorite now!


We made the starfish molds with Wilton pink and white candy melts.  We placed them on top of ice cream and cotton candy.  I found the molds from Ikea.  These were so fun and easy to make, and I let the kids do their own.  They loved it!


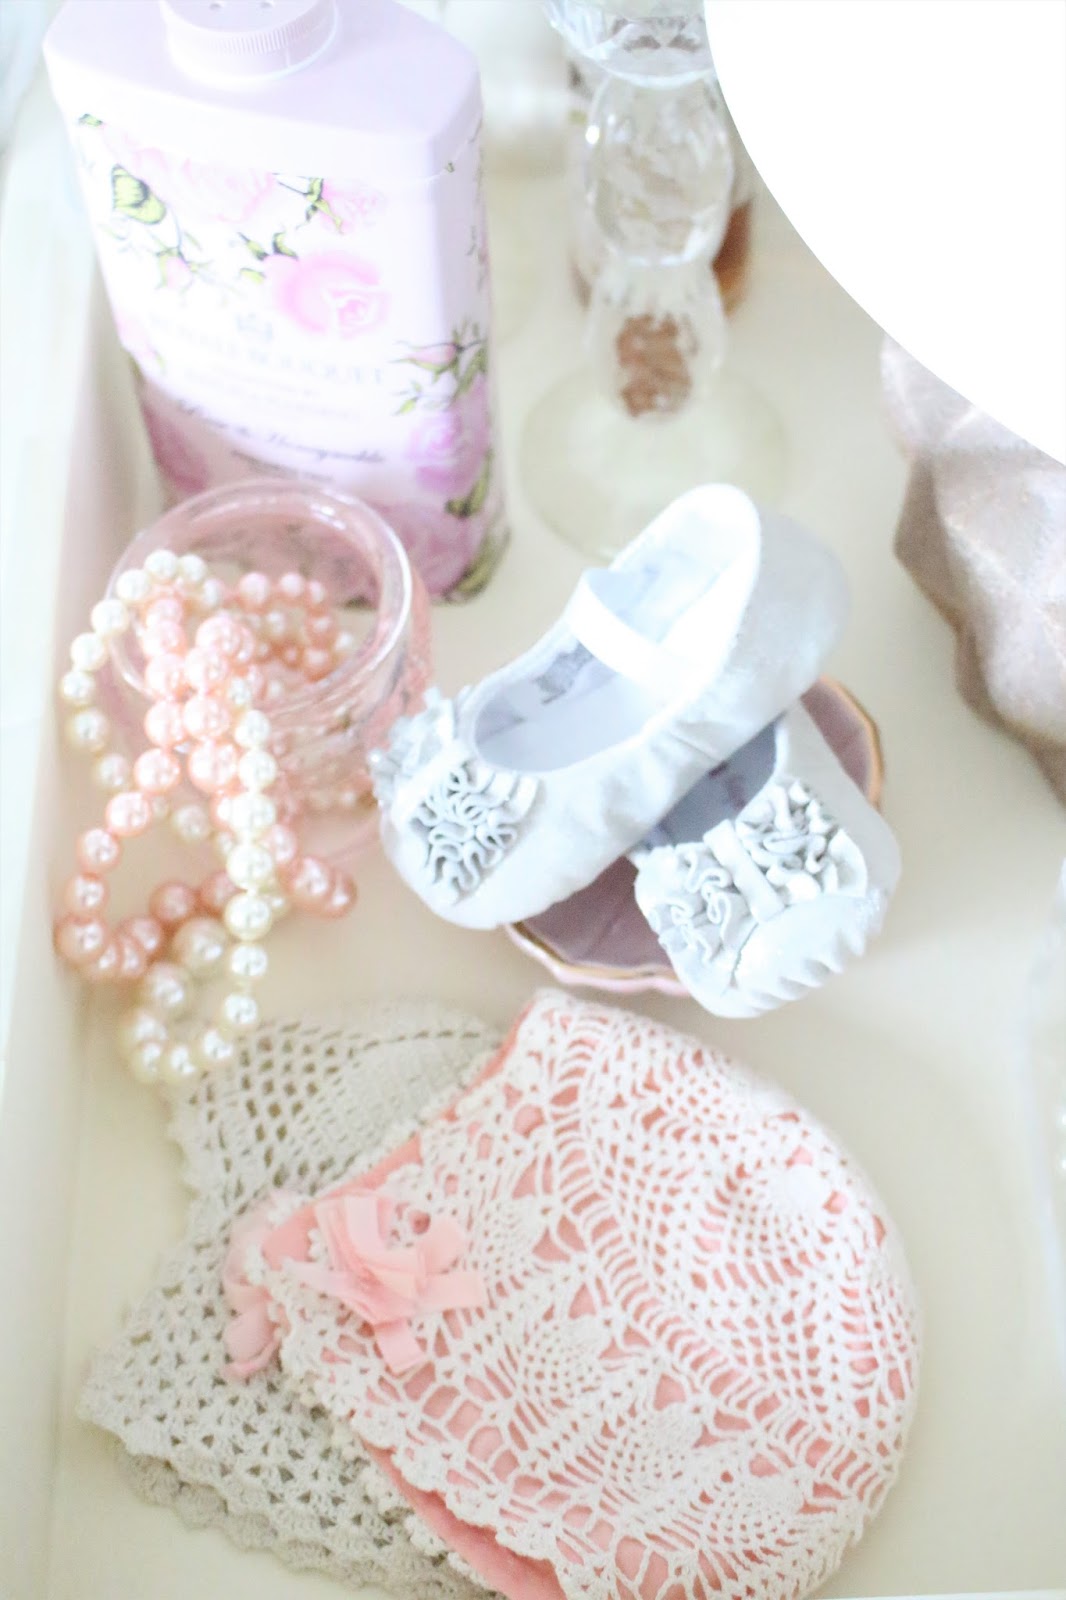
A Baby Girl Nursery


I'm excited to share details of my baby girl's space.  I wanted the space to be new and fresh, but I wanted to do it with a small budget since she's one day going to be sharing a room with her big sister.  
I started with a few simple, design elements to bring the nursery together.  Here's what I started with:

1.  Statement Lighting
Since lighting can make a HUGE impact, I knew I wanted to do something fun.  But a lighting statement can cost as much (or more) than the statement.  So I looked to IKEA for something big and inexpensive.  I settled on THIS light and sprayed it gold.  It took me a day to paint and dry, and my personal handyman had it up within minutes.

2.  Wallpaper Decals
I found the sweetest watercolor decals here.  Urban Walls has tons of decals to choose from, and the sky is the limit as to how you wanted to implement them.  I just free-handed my spacing and deliberately spaced some really close together and some evenly apart.  My 9'x11' wall used only one purchase of a 50 pack of dots, for $48.  Putting these up was really fun because it instantly made a big impact, and it was quick process.

3.  A Unified Theme
Picking a theme will help your space stay unified and give it an identity.  This doesn't mean it should be all pink and unicorns a hundred times over, or all brown with horses through and through.  But implementing a theme, and then acknowledging small motifs of that theme in various ways (even just once), give a space an identity.  Spaces like this create an inviting and welcoming atmosphere.  And don't think that this concept suggests a super controlled, generic space.  If your space is super random and eclectic, acknowledge that as your theme, and go for it. I love eclectic spaces because they emanate depth and have layers of meaning in them.  They are like pieces of art commissioned just for you.  That being said a lot can be said with silence, or in the case of design, so much can be said with simplicity.  Whatever you're looking for, envision it, and then implement those elements.  It all depends on your personal taste.  But just go for it, and enjoy creating it.


Some the other fun DIY's included spraying the drapery rings gold, spraying an Ikea rod gold to display some of our swaddle blankets, and simply handing spice racks as book shelves.
Other sources:


Chocolate Covered Strawberries


Who doesn't love chocolate covered strawberries?  They are such a fun and easy treat, and they are the perfect Valentine's Day treat.  Plus, it's fun and easy to make them look gourmet.  They also go a long way when you buy a large package of fresh strawberries from Costco, for dipping.  The amount shown in these pictures was not even a full package, and we had plenty to spare. 


Here are my top tips to making your strawberries look and taste just right.

Tip #1
Wash and dry your strawberries the night before.
If there's any water on the strawberries when you start to dip, the chocolate or candy coating, is not going to adhere properly, or at all.  I wash all my strawberries, and then lay out a few sheets of paper towels and spread the strawberries out to dry, let them dry for a day before dipping.  If you're short on time, you could hand wash each strawberry, without dousing them in water, and then hand-dry with a paper towel.  You just don't want them to be wet when dipping.  


Tip #2
Temper your chocolate or candy coating.
They're are a lot of things that involve tempering chocolate, but for the simplicity of  just dipping strawberries, I just mean, heat the chocolate slowly.  This allows the chocolate from over-cooking and most importantly, to maintain its sheen.  If you're finding that your chocolate has a dull, matte appearance, check your tempering.  
When I dip chocolates, I don't test the temperature, and I don't even use a double boiler, I just use the microwave, and VERY slowly heat and stir.  Once the chocolate becomes more fluid, I add more chips, and stir those in for a time, before adding more heat.  


Tip #3
Chill your cookie sheet 30-60 minutes before dipping, and place dipped-strawberries on parchment paper, on the cooled cookie sheet. 
I have found that dipped-strawberries harden best at room temperature.  It prevents condensation from occurring from the juices in the strawberries.  But this tip allows for the chocolate to harden and keeps the strawberries lightly chilled.
 

Finally, I just have a few ideas to share about decorating.  I have used milk chocolate and Wilton candy coating, and both work similarly.  It really depends on your color/taste preference.  For these, I was just really set on pink.  I also used white chips to drizzle on top.  I drizzled the white by using a plastic bag and cutting the tip, ever so slightly.  I used this gold leaf once the coating dried, and then I lightly painted on some water, and then I adhered the gold leaf.  I also used a mixture of sprinkles and edible sparkles.  You could also use finely chopped nuts, shredded coconut, or more sprinkles (next time I make them, I'm going to take non-sweetened, shredded coconut, chop it up, and then sprinkle on top!).  The sky is the limit.  

There you have it!  I hope some of these tips help to make dipping strawberries a little more seamless.

Happy Valentine's Day
 xoxo


Nutcracker Cookies


I love to create new sets of cookies.  Designing a new cookie set is actually one of the best parts for me.  When I design a cookie, I first map it out in my head and start to get a feel for what I want it to look like.  Then I trace an outline of the cookies with the cookie cutter and draw it out.  With these cookies, I used pre-made icing decorations and hand-made ones as well.  I used a lot of edible sparkles, and I hand-painted edible gold on the details of the cookies.  Things get pretty serious in cookie decorating when you're holding a paint brush.  You start to feel like an artist painting a layered canvas, haha.  There's royal icing and then there's abstract oil paining.
I'm not sure if it's just the nostalgia from when I performed, or just because they are kinda cute, but these cookies are my some of my favorite!  I love the Nutcracker and always look forward to going around Christmas time.  Its' become one of our family traditions, especially since my two oldest girls perform now.  I figure I've perform in over a hundred Nutcracker's since about the time I was 12, and I can't listen to the music without feeling the need to start dancing. 
I hope you're enjoying this wonderful time of year!
Merry Christmas!
xoxo


design + development by fabulous k